
47770404
Clearcoat 2K High Solid 2:1 DH
5L, Low VOC
Choosing the right Clearcoat for your car is a very important step for any bodybuilder. As the last layer applied to the surface of the bodywork, it is in direct contact with the outside environment: bad weather, impacts, scratches, etc. As a result, the Clearcoat must be resistant to avoid any defects that may be caused over time.
There are several ways to apply Clearcoat, depending on the specific characteristics of the vehicle.
This type of Clearcoat is applied in a single, particularly thick coat.
High Solid Clearcoats are applied in two coats:
Step 1 : Apply a first coat of normal thickness, taking care to thin the mixture very slightly to create a smooth, taut surface.
Step 2: Allow your Clearcoat to dry for between 5 and 20 minutes.
Step 3: Once the first coat of Clearcoat is completely dry, apply the second and final coat: this last coat should be glossy and wet to give your car a "mirror" appearance when it dries.
Tech'team tip: It's important to follow the preparation rules carefully during application, because many defects can appear: air bubbles, streaks, peeling, orange peel, drips...
To avoid these kinds of imperfections, it's important to follow a few rules to ensure that your work is effective, fast and flawless:
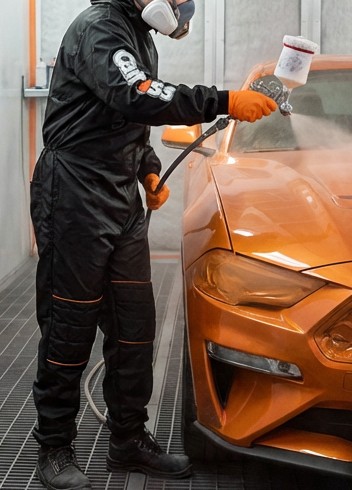
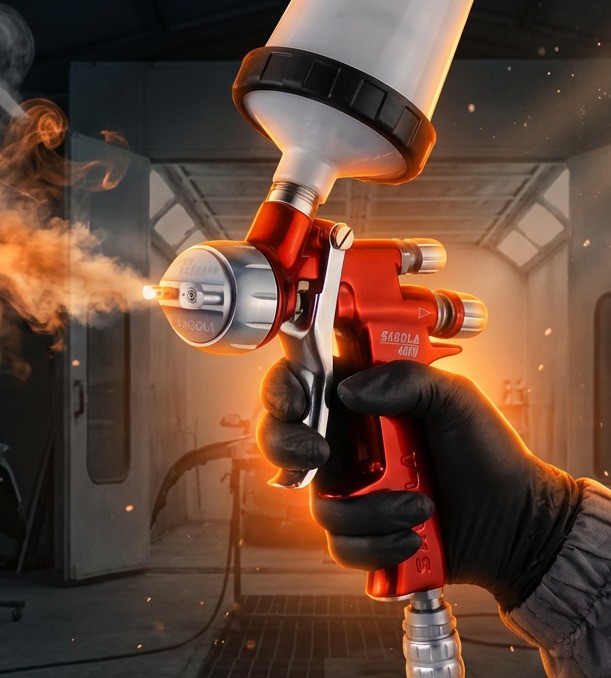
To apply Clearcoat to your car, you'll need a range of equipment to ensure you get the job done properly and accurately.
It's essential to use personal protective equipment such as gloves, goggles, coveralls or a face mask.
Step 1: Prepare the area where you are going to apply the paint using tarpaulins.
Step 2: Thoroughly wash your vehicle. This step is essential to ensure a good result.
Step 3: Sand your vehicle: it's important to sand your bodywork properly with the right disc to allow the paint to bond properly.
Step 4 : Using a cloth, it's important to remove any dust caused by the sanding process.
Step 5 : Remove any parts of the bodywork that can be removed and protected (windscreen wipers, aerials).
Step 6: It is important to maroufler the parts that cannot be removed.
Step 7: Apply the undercoat. Once this has been done, your bodywork is ready to receive the paint.
Step 8: Once you've chosen the right shade to apply to your car, get your spray gun and apply your paint to the surface of your vehicle. Your Paint, mixed beforehand with the appropriate Hardener and Thinner.
Step 9: Apply the Clearcoat: we recommend that you apply two clear coats to your vehicle so that the paint clings quickly and easily.
Step 10: Be sure to let your mixture dry thoroughly between coats: this will ensure a smooth, clean, flawless finish.
Step 11: Applying the car polish: this is the final step to add shine to the paintwork.
Tech'team tip: For perfect application, we recommend varnishing your vehicle at a temperature of between 15°C and 25°C.
It's important to check the condition of your Clearcoat before you carry out any Touch up or maintenance work on your vehicle. If it is flaking, you must remove the first layers of Clearcoat. To do this, simply sand the surface, but it's important to use the finest grit to avoid damaging the paint.
Tech'team tip: it's important to take care when Sanding your car, as the paint could be damaged and/or come off and you'll have to repaint your whole vehicle!
As a general rule, we recommend leaving to dry for between 10 and 20 minutes at room temperature. However, we strongly recommend that you always refer to the product data sheet.
Here is a summary of the different types of Clearcoat:
This Clearcoat has a technology that offers good protection for your vehicle, and adds a shine to your car's bodywork. Thanks to its composition, Clearcoat is highly prized by professionals, as it is resistant to abrasion, UV rays and chemical agents.
This anti-scratch Clearcoat from Mobihel has excellent durability and is a versatile varnish for cars and motorbikes. It dries very quickly at a temperature of 60°C, in just 20 minutes!
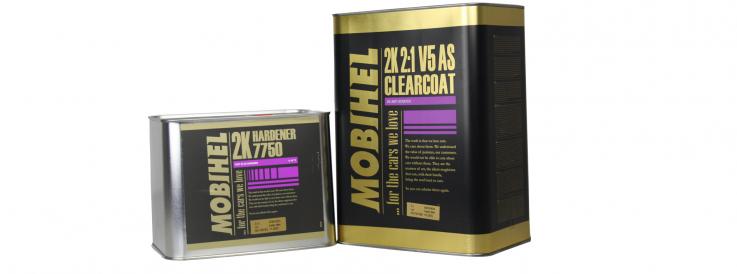
This Clearcoat is very easy to apply, simply mix at a 2:1 Mixing ratio with the appropriate 2K Hardener for V5 ECO Clearcoat.
Compared to other types of Clearcoat, matt bodywork Clearcoat is particularly visible on a car. In fact, this type of Clearcoat is slightly different from others. However, maintaining a matt car is more expensive and more complicated than other Clearcoats. We recommend that you call in a professional.
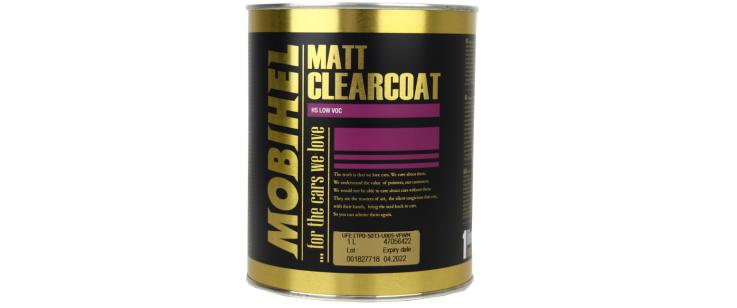
This matt Clearcoat from Mobihel is ideal for any matt finish. Application of this Clearcoat is quick and easy, with only 15 minutes between coats.
This product is ideal for plastic parts such as rear-view mirrors and bumpers.
Tech'team tip: we recommend that you apply two full coats of Clearcoat to your vehicle.
This type of High Solid Clearcoat is one of the most widely used in the professional bodywork sector. These Clearcoats provide extreme shine and resistance to all types of weather. High Solid Clearcoats comply with environmental standards: they contain far fewer chemicals that are harmful to the environment.
Super Hight Solid Clearcoats are not only high-performance, they're also a little more environmentally friendly: their new composition contains fewer solvents and chemicals. This is the most advanced type of Clearcoat in terms of composition compared with other varnishes.
This type of Clearcoat has been designed to optimise working time. In fact, these Clearcoats can be used for Spot-repairs.
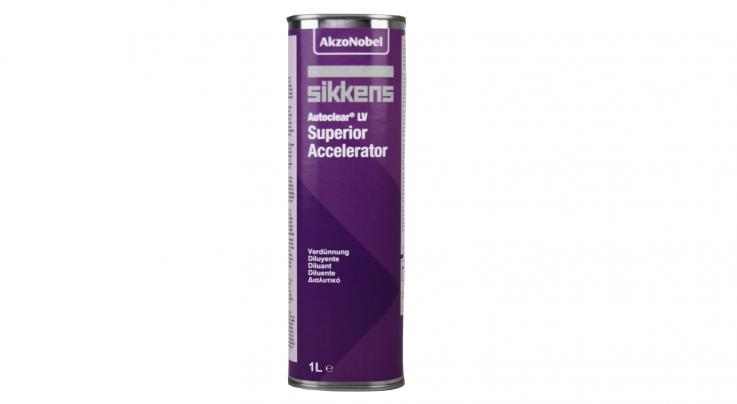
This Sikkens accelerator reduces drying time, but the temperature must not exceed 60°C.
This product is packaged in 1L cans.
This type of Clearcoat has been specially designed to optimise working time. It should be used for Spot-repairs. As well as being fast, this product uses no heat energy in the booth, which considerably reduces costs.
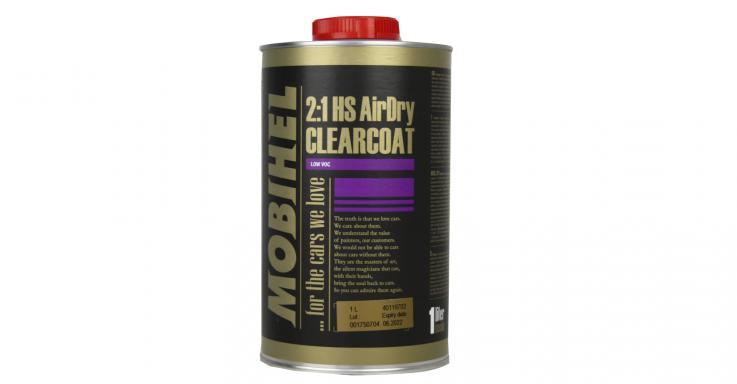
This air-drying Clearcoat from the Mobihel range is highly versatile. It's perfect for light repairs to your vehicle. For this Clearcoat, allow 1 hour drying time at 20°C compared with 5 minutes at 60°C.
Tech'team tip: this product's technologies often require you to harden your hydro base. Remember to check the product data sheet.


