Clearcoat defects: causes, prevention and remedies
See the products concerned
The Clearcoat on a car body paint is a translucent, colourless or lightly tinted layer that is applied over the Basecoat when the vehicle is manufactured or when it is retrofitted (repaired or changed colour).
The primary role of Clearcoat is to protect the bodywork against the weather and external conditions to which the vehicle is subjected.
Secondly, Clearcoat also fulfils an aesthetic function by enhancing the base colour and giving it greater depth and brilliance.
Matt finish / Loss of gloss
Description
Surface of the finish that has become matt.
Causes
- Clearcoat layer thicknesses too high
- Air humidity too high
- Distemper
- Defective Hardener
- Compressed air humidity
Preventive measures
- Follow the technical instructions for applying the product
- Close containers with Hardener tightly after use
- Ensure adequate air supply (during drying)
- Respect drying times
- Use the prescribed Hardener and check its quality: it must be clear, colourless, liquid and free of floating particles.
Remedies
- Sand down to the primer, then apply the paint and Clearcoat
Clearcoat drips
Description
Drips of Clearcoat usually appearing on vertical surfaces.
Causes
- Inadequate application viscosity and evaporation time between coats
- Basecoat thickness too high
- Spray jet not adjusted, nozzle unsuitable, spray pressure unsuitable
- Product, substrate or booth temperature too low, ambient temperature too cold.
- Incorrect choice of Hardeners and Thinners.
Preventive measures
- Follow the application advice in the technical instructions.
- Make sure the spray gun is in good working order and use the correct Nozzles.
- Heat the substrate and the product to room temperature (20°C).
- Use the right combination of Hardeners and Thinners.
Remedies
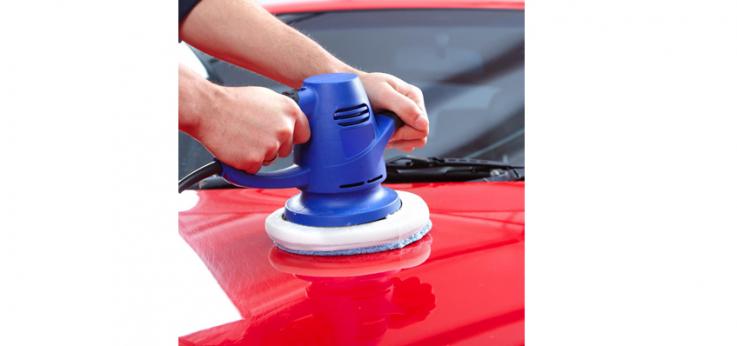
Before removing the drip, wait for the film to dry completely. Depending on the size of the drip, polish or reapply Clearcoat.

Wrinkling of Clearcoat
Description
The presence of wrinkled areas of varying size on the Clearcoat film.
Causes
Removal of the paint underneath due to solvents, as a result of :
- Original equipment use of thermoplastic or powder Clearcoats which are very sensitive to the solvents normally used in bodywork.
- Original use of water-based or solvent-based Clearcoats that have not been properly dried and are therefore sensitive to the solvents normally used in bodywork.
Preventive measures
Always check the solvent resistance of the original Clearcoat in order to choose the most suitable cycle.
Remedies
Sand the surface, isolate with a suitable primer (epoxy or water-based) and re-varnish.
Bodywork veiling
Description
Veil that forms on the Clearcoat film.
Causes
Condensation of moisture trapped in the Clearcoat film as soon as it has been applied. This can be caused by :
- Unfavourable weather conditions.
- Use of unsuitable Thinners.
- Inadequate air pressure.
- Drying too long.
Preventive measures
- Avoid applying in adverse weather conditions: very high humidity, low temperature.
- Use the Thinner recommended on the technical data sheet.
- Respect the drying times indicated on the technical data sheet.
Remedies
Buffing the Clearcoat may eliminate the defect. If this is not sufficient, sand and reapply the Clearcoat. If the problem recurs, check the technical and application conditions (spray gun settings, ventilation, drying temperature).
Dirt and dust in Clearcoat
Description
Presence of dirt in the form of dark or light spots, depending on the colour of the surface.
Cause
During application, dirt is attracted to the Clearcoat and trapped in the wet film.
Preventive measures
- Make sure the paint booth is always clean.
- At all stages of preparation, blow into every nook and cranny to remove all dust.
- Wear linen-free clothing.
Remedies
- Sanding and polishing will only remove dust from the surface of the Clearcoat.
- Otherwise, touch up the Matt basecoat and Clearcoat.
Adhesion problems between Matt basecoat and Clearcoat
Causes
- Excessive thickness of Matt basecoat.
- Matt basecoat's intermediate and final evaporation times are too short.
- Wrong proportion of Clearcoat/Hardener mixture.
- Unsuitable hardener/solvent combination, system too fast.
Preventive measures
- Apply a Matt basecoat film of the thickness recommended in the technical data sheets.
- Respect the intermediate and final evaporation times recommended in the technical data sheets.
- Select and mix Clearcoat, Hardener and Thinner in accordance with the recommendations in the technical data sheets.
Remedies
- Sand and repaint the Clearcoat.


